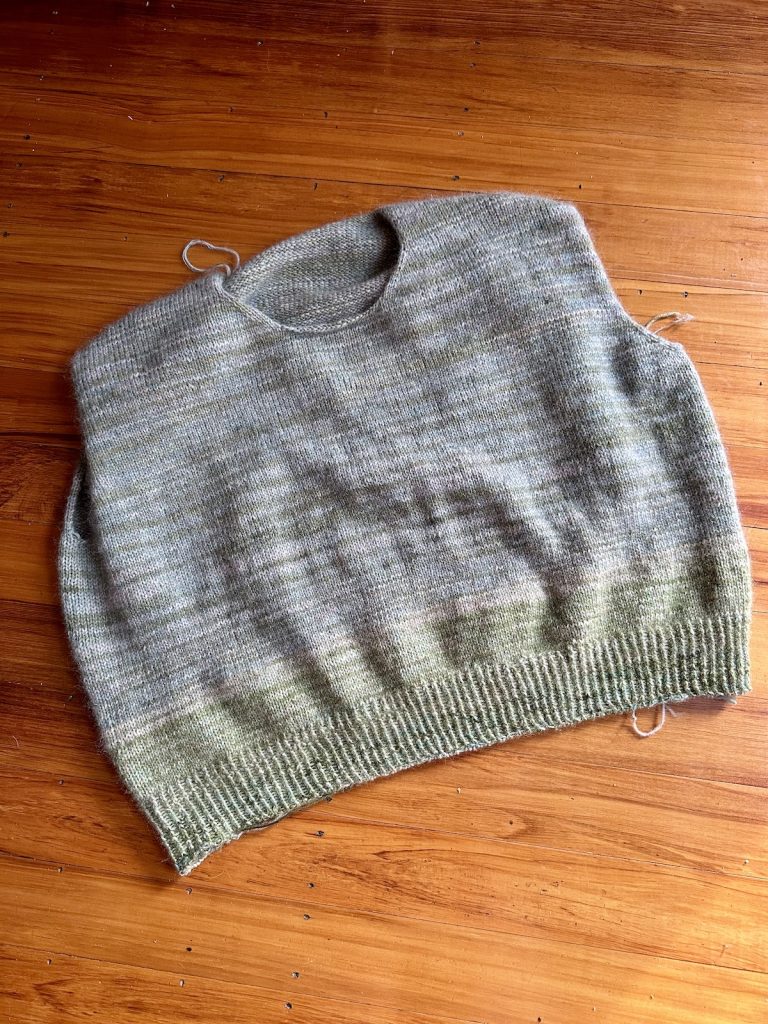
I have been knitting away on Sweater Nr. 11 from My Favourite Things. By looking at the jumper you would think this would be quite a quick knit. Well, this is taking way longer than the extravagant Fairisle jumper I just finished! I am also playing mental yarn chicken as right now I am on the turtleneck with roughly 150g left – and two sleeves ahead of me.
All of the ribbing (hems and turtleneck) are done in twisted rib. That means that the 1×1 ribbing is made by ktbl and ptbl. This is time consuming and takes more wool. But the point is that each side of the ribbing looks the same, so when the turtleneck folds over, the ribbing looks the same as underneath. I questioned why you would need this on the hems and could just have done a half twisted rib (ktbl, p) – but generally this ribbing looks more elegant.
The bind off is done as an Italian tubular and the pattern designers suggested a video to watch to do this. The difference being that a “normal” Italian bind off takes the stitches as they come, rather like Kitchener stitch. But with the twisted rib the stitches are twisted so you twist the bind off. Doesn’t matter. Once finished I tried on the jumper and I could hardly get it over my shoulders/chest. There was NO stretch in this bind off. At all. Zero. I slept on this dilemma and ended up removing the bind off. Now that was incredibly fiddly and took 4 hours. You cannot unravel a Italian bind off as you use a needle to “sew” the stitches off. One by one I undid each stitch. Then I spend another 2 hours binding off in a traditional Italian bind off (no twisting) and yay – great hem with stretch and fits slouchy as requested.
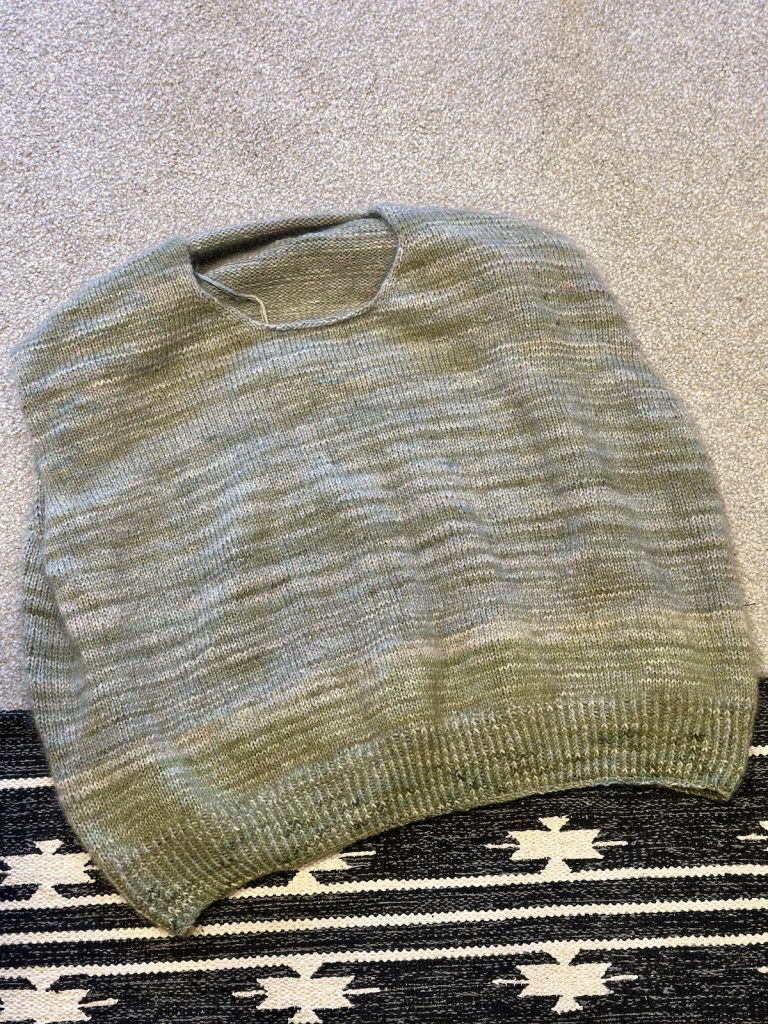
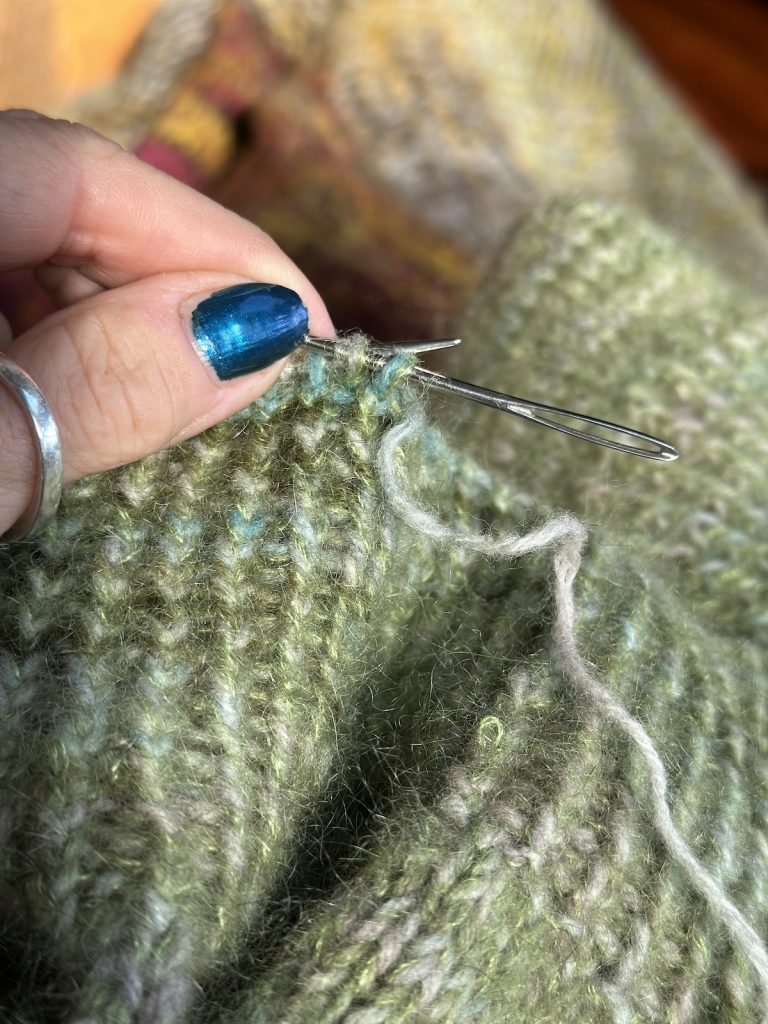
New bind off
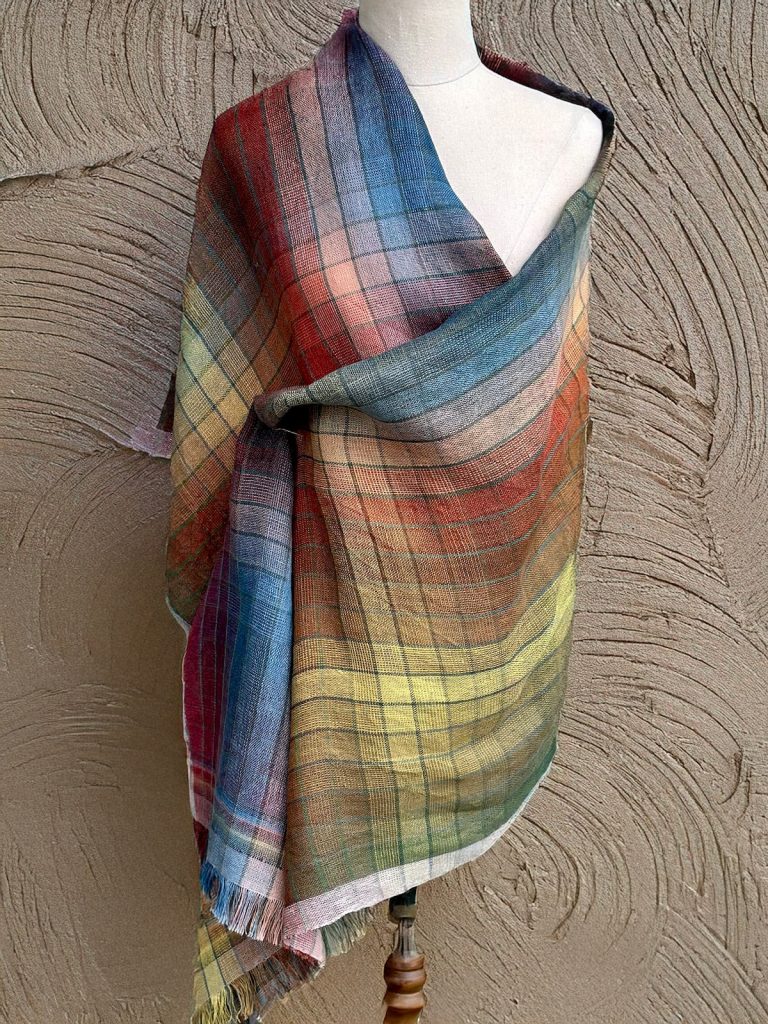
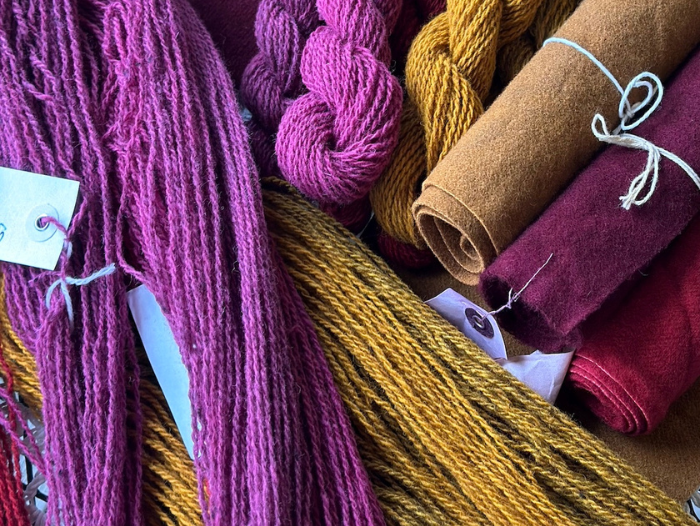
I had a fab week in my weaving world and had another site sale, and a studio sale!!! I am on a roll for May with 3 site sales. Very happy and honoured that people buy my pieces. I sold The Catalogue, the multi coloured gradient linen shawl. This turned out beautifully and it is like having a paint shop on your shoulders. Imagine being an Interior Designer, wearing this on site and having hues at your “shoulder-tips”!!
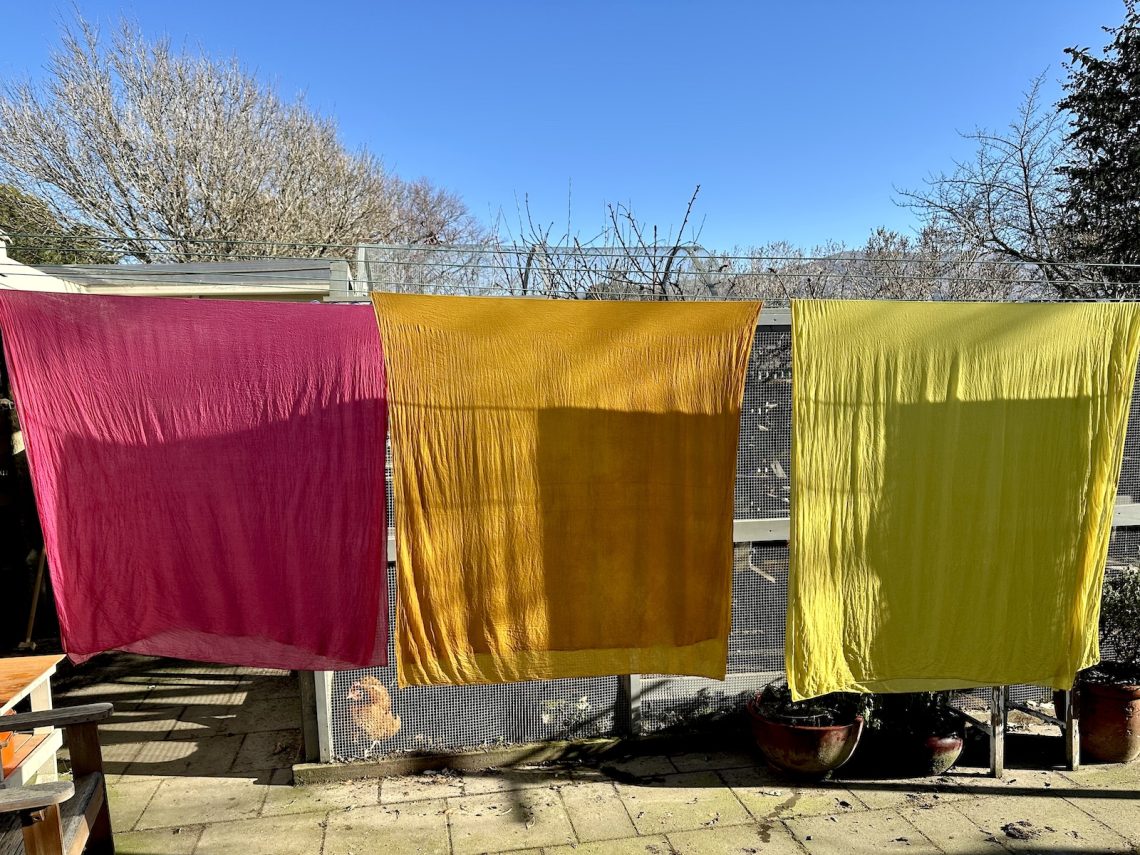
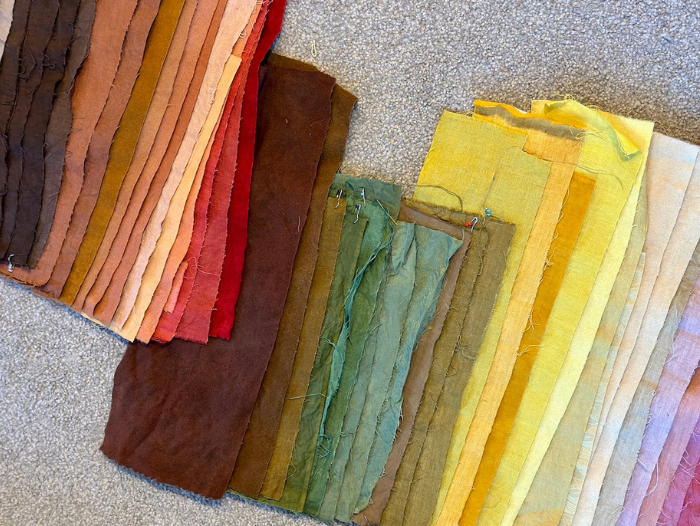
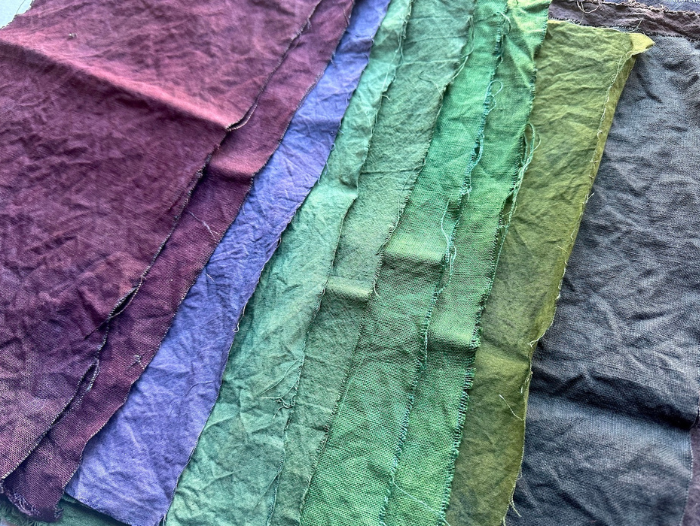
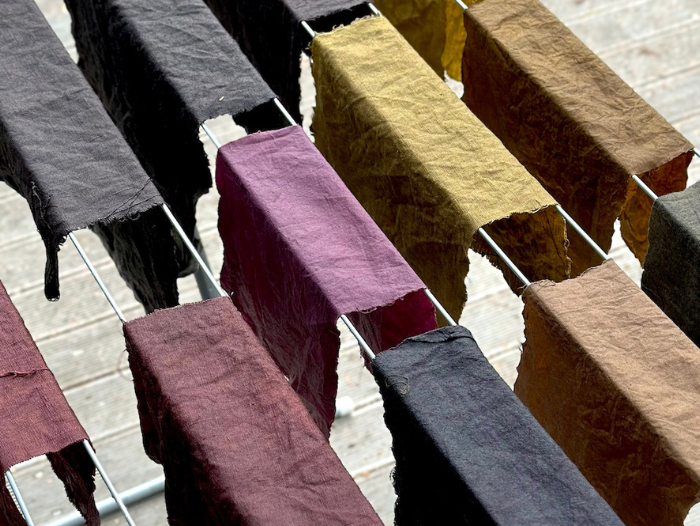
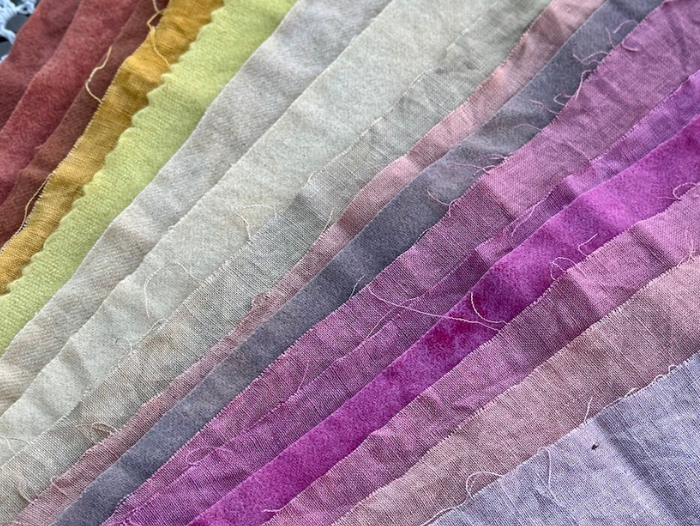
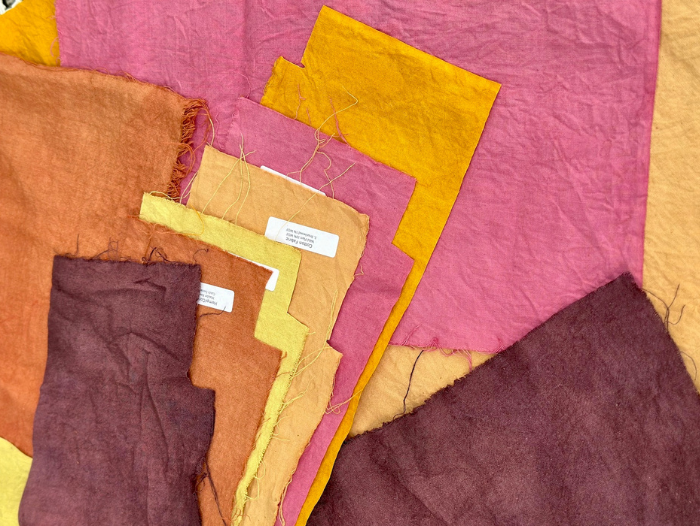
This week my natural dyeing continued. Module 4 uses silk and linen. This time I used these natural bases: madder solo, madder with cochineal, logwood, myrobalan, weld and cutch.
I am slowly getting the hang of the temperatures. I dye outside in my new/still building dye studio. There are no lids on the pots while dyeing. The water needs to simmer, but not boil and not just stand there. I log everything in my dye journal – very important to keep journals!!!
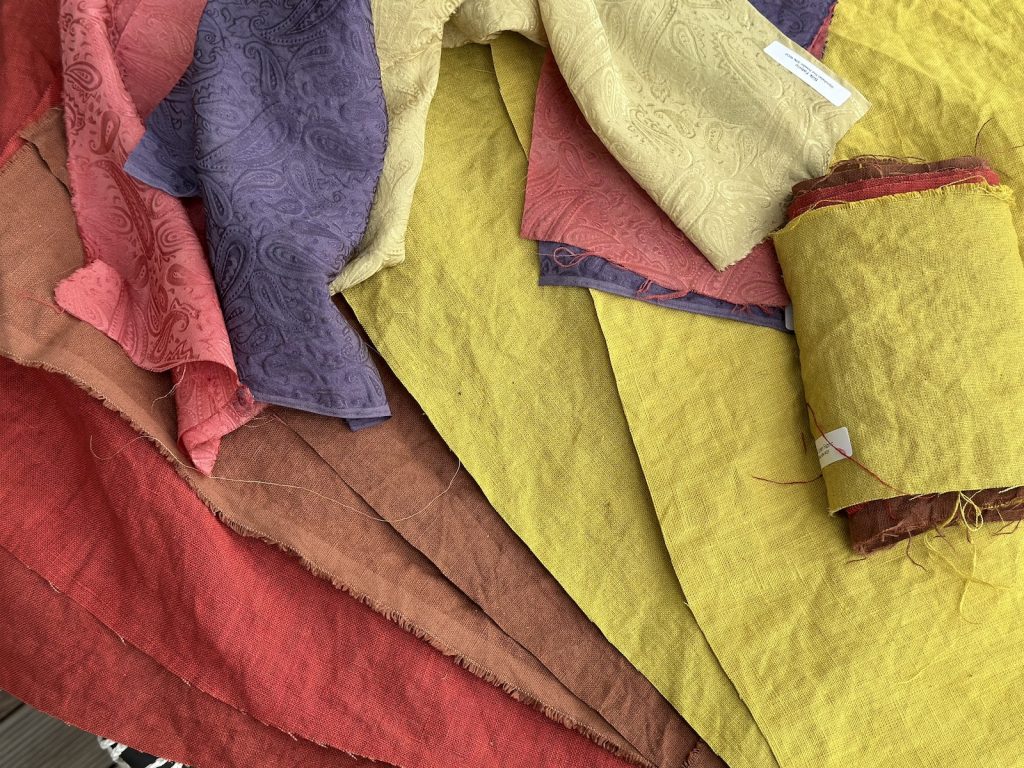
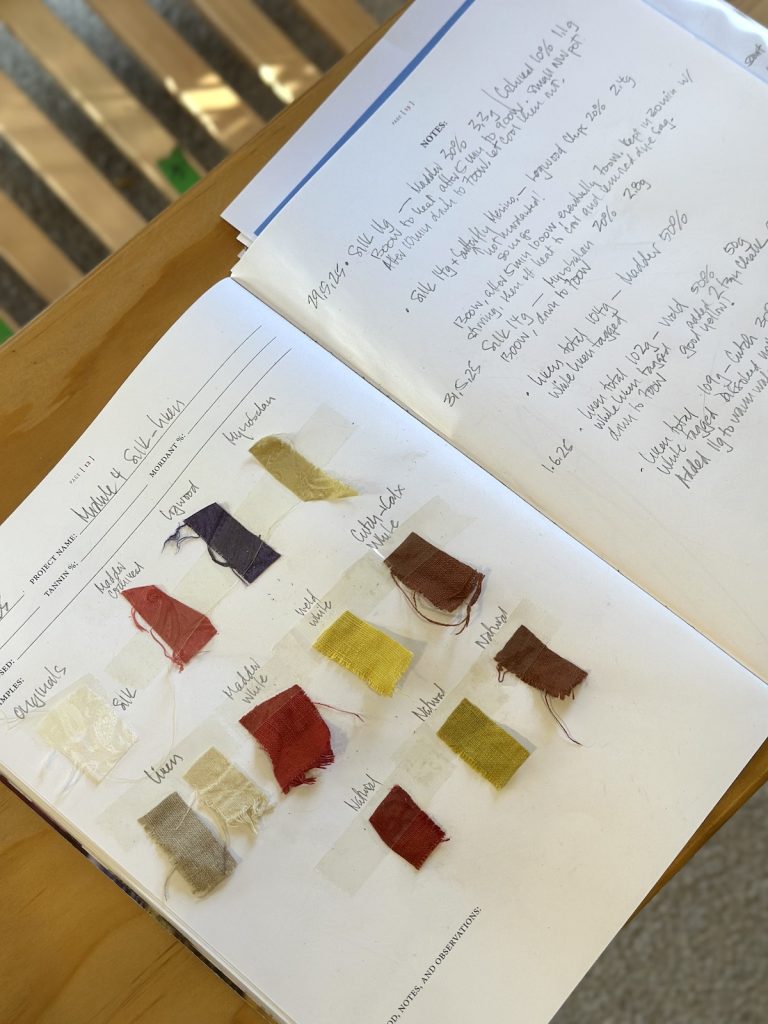
The weld created a super bright yellow on the white linen, but coming off the natural (light grey) linen it turned almost chartreuse (a bit hard to see in the photo)!!! How cool is that?? And I love the purple hue of the logwood, and that rich brown of the cutch. Not so successful with the madder-cochineal on the silk. Mine is a lovely coral red shade, but I think it is supposed to be more of a true red. Red is a really difficult colour to dye. In chemical dyeing I have finally managed to create that Xmas fire engine red, but it took heaps of trial and error. Often the red goes blue or in to yellow. True red is tough.